If you’re tired of the same old snacks and looking to elevate your palate, it’s time to dive into the world of pickling!
This ancient preservation technique is not just for cucumbers anymore; it can transform a variety of snacks into tangy, flavorful bites that are sure to impress.
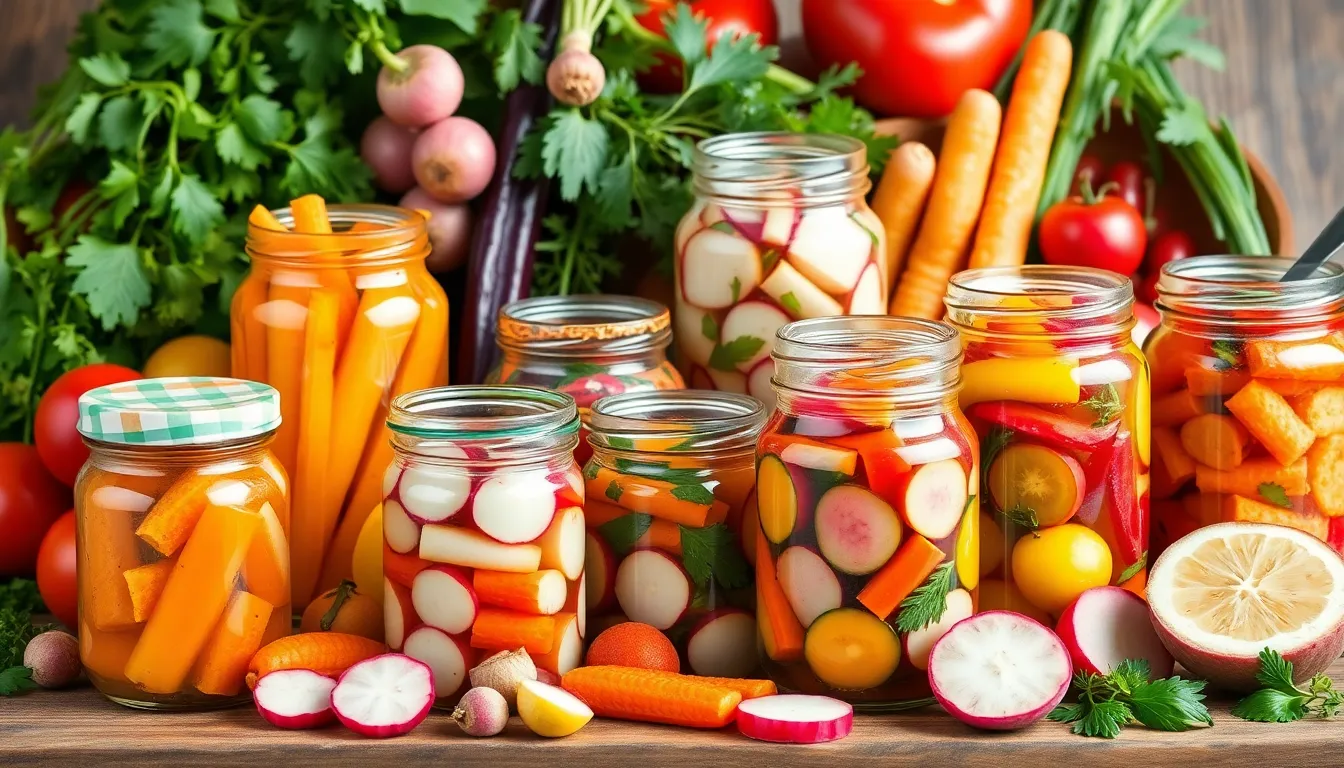
From zesty carrots to sweet fruits, these five surprising pickling methods will open up a whole new world of fermented delights. Get ready to change your snack game forever and don’t miss the exciting twist in #5!
1. Quick Pickle with Vinegar and Sugar

1. Quick Pickle with Vinegar and Sugar
If you’re looking for a fast and easy way to elevate your snacking experience, quick pickling is the answer. This method not only satisfies your cravings for something crunchy and flavorful but also provides a boost of health benefits thanks to the live cultures present in fermented foods. Perfect for a last-minute appetizer or a zesty addition to your meals, these quick pickles can be ready in just a few hours.
Here’s how to make your own quick pickles:
Ingredients:
– 1 cup vinegar (white or apple cider)
– 1/2 cup water
– 1/4 cup sugar
– 1 tablespoon salt
– 2 cups sliced vegetables (cucumbers, radishes, onions, or your choice)
– Optional: spices like garlic, dill, or peppercorns for extra flavor
Instructions:
1. In a medium saucepan, combine the vinegar, water, sugar, and salt. Heat over medium heat, stirring until the sugar and salt dissolve completely.
2. Once dissolved, remove the brine from heat and let it cool for a few minutes.
3. While the brine is cooling, prepare your vegetables by washing and slicing them into your desired thickness.
4. Place the sliced vegetables in a clean jar or container. If you’re using any optional spices, add them to the jar as well.
5. Pour the cooled brine over the vegetables, ensuring they are fully submerged.
6. Seal the jar with a lid and let it sit at room temperature for about 1-2 hours. You can also refrigerate them for faster cooling.
7. After the pickles have marinated, they are ready to enjoy! For optimal flavor, consume them within a week, but they can still taste great for up to a month in the fridge.
With this quick pickling method, you can enjoy crunchy, sweet, and tangy bites that add a burst of flavor to any dish.
2. Fermented Pickles with a Twist

Fermentation is an art that not only preserves but also enhances the flavors of your snacks. This method allows you to create tangy, crunchy pickles infused with your favorite spices. The best part? The fermentation process also introduces probiotics that are beneficial for gut health, making these treats not just tasty but good for you too.
To get started on your own fermented pickles, follow this simple recipe.
Ingredients:
– 4 cups of cucumbers (small pickling cucumbers work best)
– 4 cups of water
– ¼ cup of sea salt
– 4 cloves of garlic (smashed)
– 2 tablespoons of dill seeds or a few sprigs of fresh dill
– 1 tablespoon of peppercorns
– Optional: 1 teaspoon of red pepper flakes for a spicy kick
Instructions:
1. Prepare the Brine: In a large bowl, combine the water and sea salt. Stir until the salt is completely dissolved. This will be your saltwater brine.
2. Pack the Jars: Wash and cut the cucumbers into spears or leave them whole. Pack them tightly into a clean, quart-sized jar, leaving some space at the top.
3. Add Flavors: Layer in the smashed garlic, dill seeds, peppercorns, and any other spices you want to include. If you like it spicy, add red pepper flakes.
4. Pour in the Brine: Carefully pour the saltwater brine over the packed cucumbers, ensuring they are fully submerged. You can use a small weight or a clean rock to keep them below the surface if needed.
5. Seal and Ferment: Seal the jar with a lid, but not too tightly; gases need to escape during fermentation. Place it in a cool, dark spot at room temperature.
6. Wait: Let the pickles ferment for 5 to 14 days, checking them daily. Taste them after about a week; once they reach your preferred tanginess, they’re ready!
7. Storage: Once fermented to your liking, transfer the jar to the refrigerator. Enjoy your delicious, health-boosting fermented pickles as a snack or side dish!
These fermented pickles are a delightful way to enjoy fresh flavors while reaping the health benefits of probiotics. You’ll never look at pickles the same way again!
3. Sweet Pickled Fruits for a Dessert Delight

Sweet pickled fruits are a unique way to elevate your dessert game. Imagine the juicy sweetness of peaches or strawberries transformed with a tangy twist. These delightful treats not only provide a burst of flavor but also offer the health benefits associated with fermented foods. Perfect for a cheese board or as a topping for ice cream, sweet pickled fruits are sure to impress your guests.
Ingredients:
– 2 cups of fresh peaches or strawberries, sliced
– 1 cup of granulated sugar
– 1 cup of white vinegar (or apple cider vinegar for a different flavor)
– 1 teaspoon of cinnamon sticks (or 1 teaspoon of ground cinnamon)
– 2-3 star anise (optional)
– A pinch of salt
Making Process:
1. In a medium saucepan, combine the sugar, vinegar, cinnamon sticks, star anise, and salt.
2. Heat over medium heat, stirring until the sugar completely dissolves. Allow the mixture to come to a gentle simmer for about 5 minutes.
3. Remove the syrup from heat and let it cool slightly.
4. Place your sliced peaches or strawberries in a clean glass jar.
5. Pour the warm syrup over the fruit, ensuring it is fully submerged.
6. Seal the jar tightly and let it sit in the refrigerator for 1-2 days to allow the flavors to meld.
7. Once ready, serve the sweet pickled fruits on a cheese board, over desserts, or enjoy them straight from the jar!
These sweet pickled fruits will add a surprising and delightful twist to your dessert repertoire. Enjoy the unique flavors and health benefits that come with these tasty treats!
4. Savory Pickled Garlic for a Flavor Punch

Garlic lovers, rejoice! Pickled garlic is not only a flavorful addition to your snack collection but also offers numerous health benefits. This tangy treat can elevate your meals and snacks, making them more enjoyable and nutritious. The pickling process mellows the pungency of raw garlic while still retaining its health-promoting properties, such as boosting the immune system and aiding digestion.
Here’s how to make your own savory pickled garlic at home.
Ingredients:
– 2 cups whole garlic cloves (peeled)
– 1 cup white vinegar (or apple cider vinegar)
– 1 cup water
– 2 tablespoons salt
– 1 tablespoon sugar (optional)
– 1 teaspoon black peppercorns
– 1 teaspoon mustard seeds
– 2-3 sprigs of fresh thyme (or 1 teaspoon dried thyme)
– 2-3 bay leaves
Instructions:
1. Start by peeling the garlic cloves. You can use the flat side of a knife to smash them slightly, making peeling easier.
2. In a saucepan, combine the vinegar, water, salt, sugar (if using), black peppercorns, mustard seeds, and thyme. Bring the mixture to a boil over medium heat, stirring occasionally until the salt and sugar dissolve.
3. Once boiling, remove the saucepan from the heat and let the brine cool for about 10-15 minutes.
4. Place the peeled garlic cloves into a clean glass jar. Add the bay leaves for extra flavor.
5. Pour the cooled brine over the garlic cloves, ensuring they are fully submerged. If needed, you can add more vinegar or water in equal parts to cover the garlic.
6. Seal the jar tightly and store it in the refrigerator. Allow the garlic to pickle for at least 2 weeks for the best flavor.
7. After a couple of weeks, your savory pickled garlic will be ready to enjoy! Use it in salads, sandwiches, or as a snack straight from the jar.
This pickling method not only preserves the garlic but also enhances its unique flavor, ensuring you’ll always have a delicious, health-boosting snack on hand.
5. Exotic Pickling with Kombucha

5. Exotic Pickling with Kombucha
Get ready to elevate your snacking experience with this refreshing pickling method that combines the tangy goodness of kombucha with your favorite vegetables. Using kombucha as a brine not only adds a unique flavor but also infuses your snacks with probiotics that are great for gut health. This technique works particularly well with crunchy veggies like carrots and beets, delivering a delightful crunch with each bite.
### Ingredients:
– 2 cups of your favorite kombucha (any flavor you like)
– 2 cups of sliced carrots or beets (or a mix of both)
– 1 tablespoon sea salt
– 1 tablespoon sugar (optional, adjust to taste)
– 1 teaspoon mustard seeds (optional)
– 1 teaspoon black peppercorns (optional)
– 1-2 cloves of garlic, sliced (optional)
– Fresh herbs (like dill or thyme) for added flavor (optional)
### Instructions:
1. Prepare the Vegetables: Wash and slice your carrots and/or beets into sticks or rounds, depending on your preference.
2. Make the Brine: In a bowl, mix the kombucha, sea salt, sugar, and any optional spices or herbs you wish to include. Stir well until the salt and sugar are dissolved.
3. Pack the Jar: Place the sliced vegetables into a clean glass jar, packing them tightly. If using garlic or herbs, add them between the layers of vegetables.
4. Add the Brine: Pour the kombucha brine over the packed vegetables, ensuring they are fully submerged. Leave a little space at the top of the jar to allow for any expansion.
5. Seal and Store: Seal the jar with a lid and store it in the refrigerator. Let the vegetables pickle for at least 3-5 days. The longer they sit, the more flavorful they will become.
6. Enjoy: Once ready, enjoy your fizzy, tangy kombucha pickles as a snack, in salads, or as a vibrant addition to sandwiches.
This unique pickling method not only brings exciting flavors to your table but also packs in the health benefits of fermentation, making it a must-try for any snack lover!
Conclusion

With these five surprising pickling methods, your snack game is sure to reach new heights!
Whether you prefer the quick and easy approach or the health benefits of fermentation, there’s a method here for everyone. Embrace the art of pickling and explore the endless possibilities of flavors and textures that await you.